
This is a very basic example that is based on a simple group of variables. The test division is made up of 10 teams. Process and results may vary depending on your specific inputs.
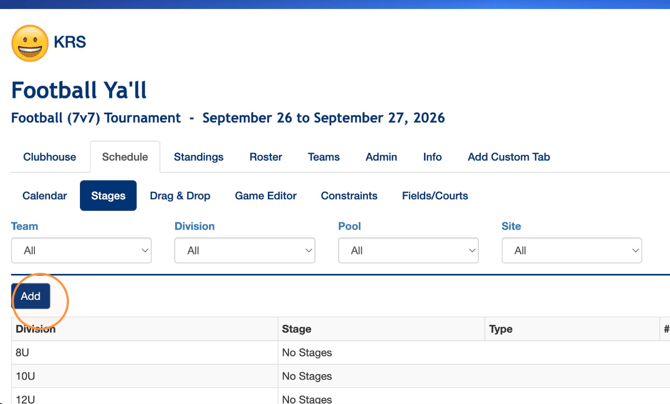
1. After logging into your account and selecting your event, navigate to your Schedule > Stages tabs.
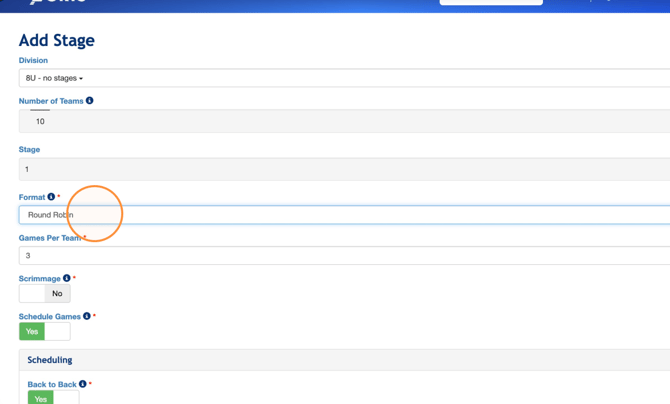
2. From the "Format" drop down menu select "Round Robin".
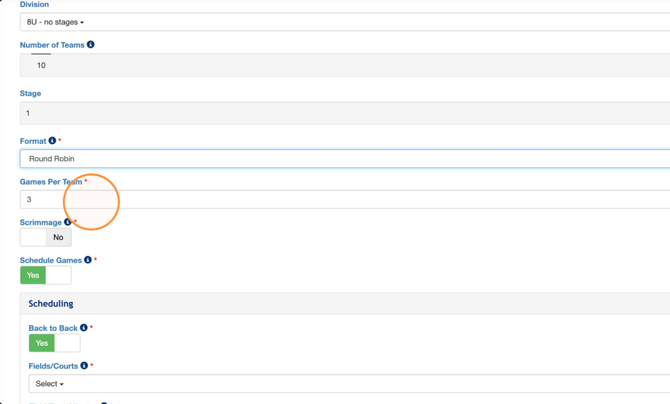
3. Enter the number of games that each team will play in the round robin stage.
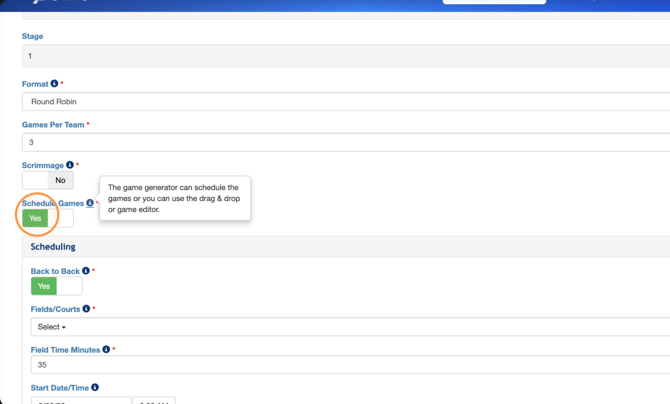
4. Keep "Schedule Games" set to "Yes" to allow the game scheduler to automatically schedule the games.
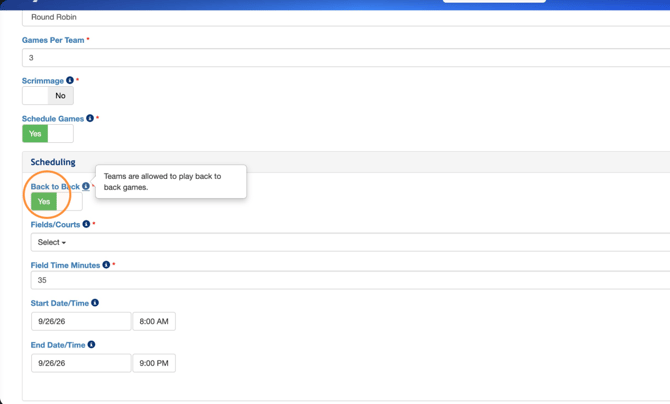
5. Keep "Back to Back" set to "Yes" to allow teams to be scheduled in games one after another.
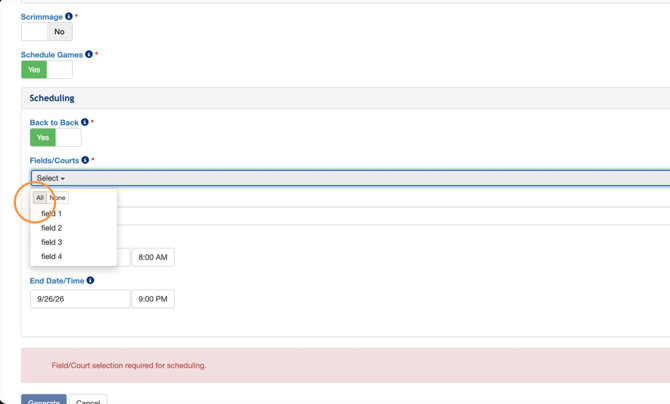
6. Click the "Field/Courts" dropdown to select which fields/courts you'd like this division's games to be set on. For example: we selected "All".
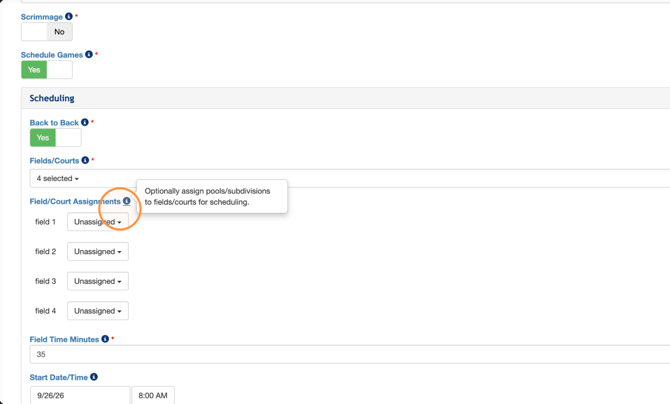
7. If you are utilizing pools/subdivisions, use the "Field/Court Assignment" section to assign pools to certain fields if you would like to.
8. The "Field Time Minutes" field will populate with the time that you set when configuring this division under Teams > Divisions. If you have nothing configured here, the default will be 60 minutes. Please be sure to adjust here if needed before generating.
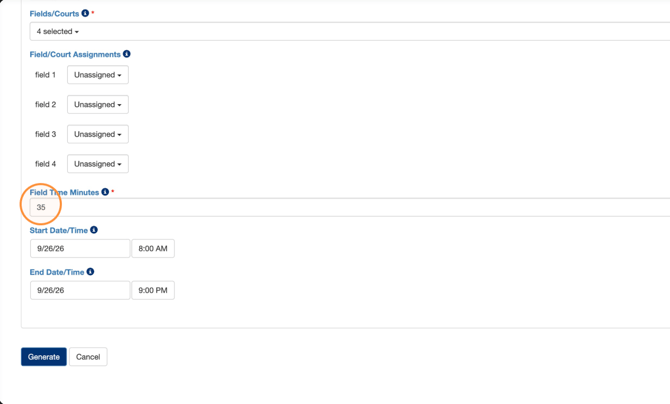
9. Make sure the date and time are set correctly.
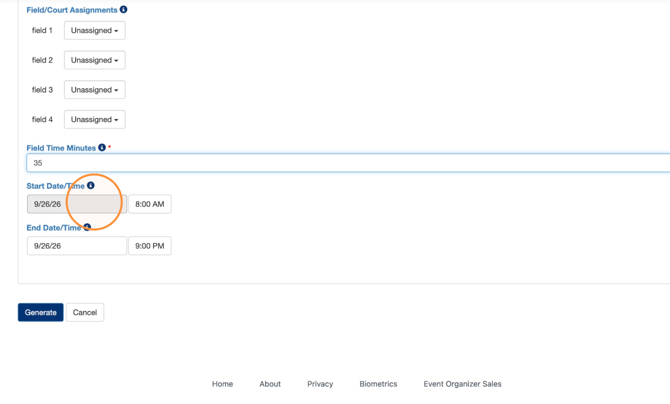
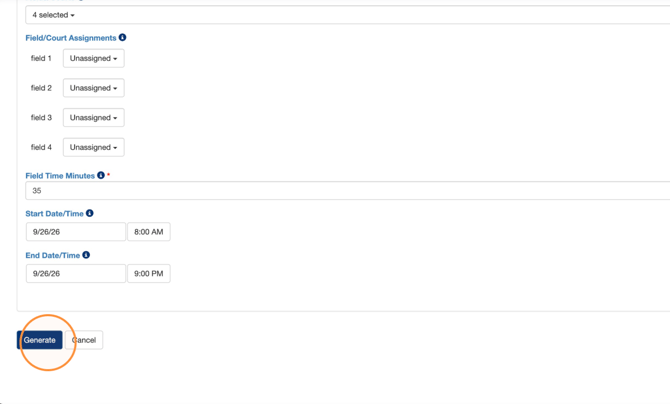
10. Click "Generate".
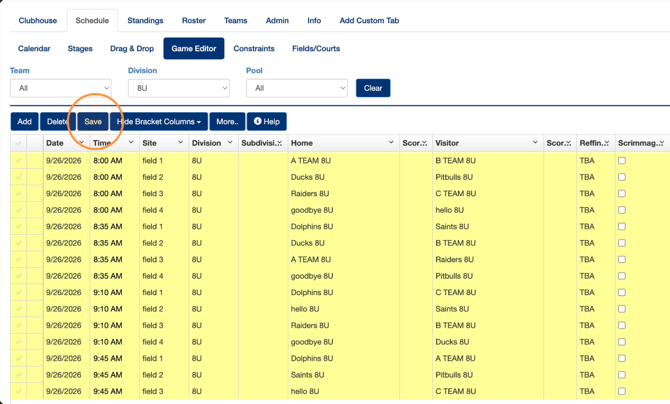
11. You will then be directed to the Game Editor tab. Click "Save" before leaving.
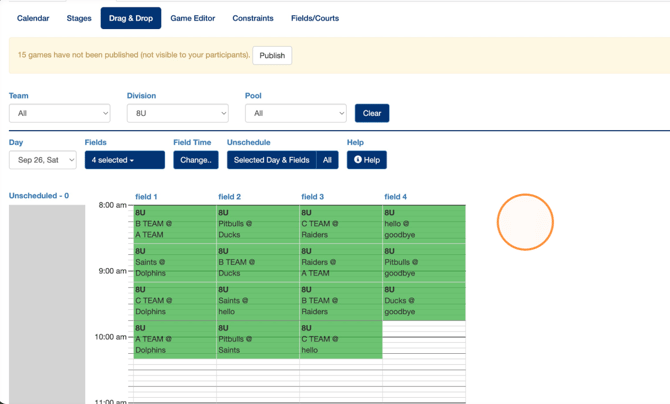
12. Click Drag & Drop to view your schedule so far laid out on a timeline.
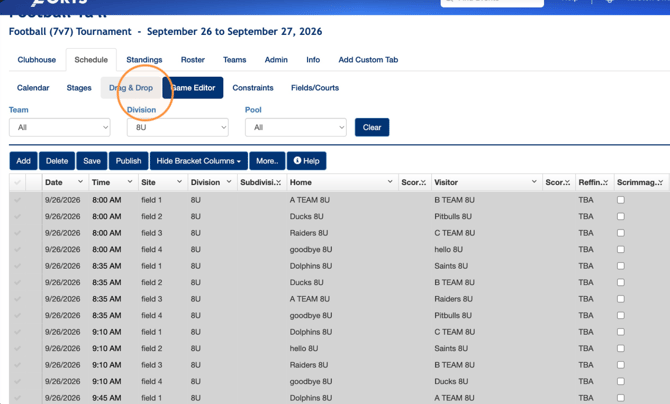
13. Many event administrators prefer to view their games here after creating a stage. From this view, you can easily adjust game times by dragging and dropping each game into the desired time slot.
You can alternate between this view and the Game Editor tab to make additional adjustments as needed.
14. Repeat these steps for the rest of the divisions in your event.